Incubator update .2
Still the biggest challenge
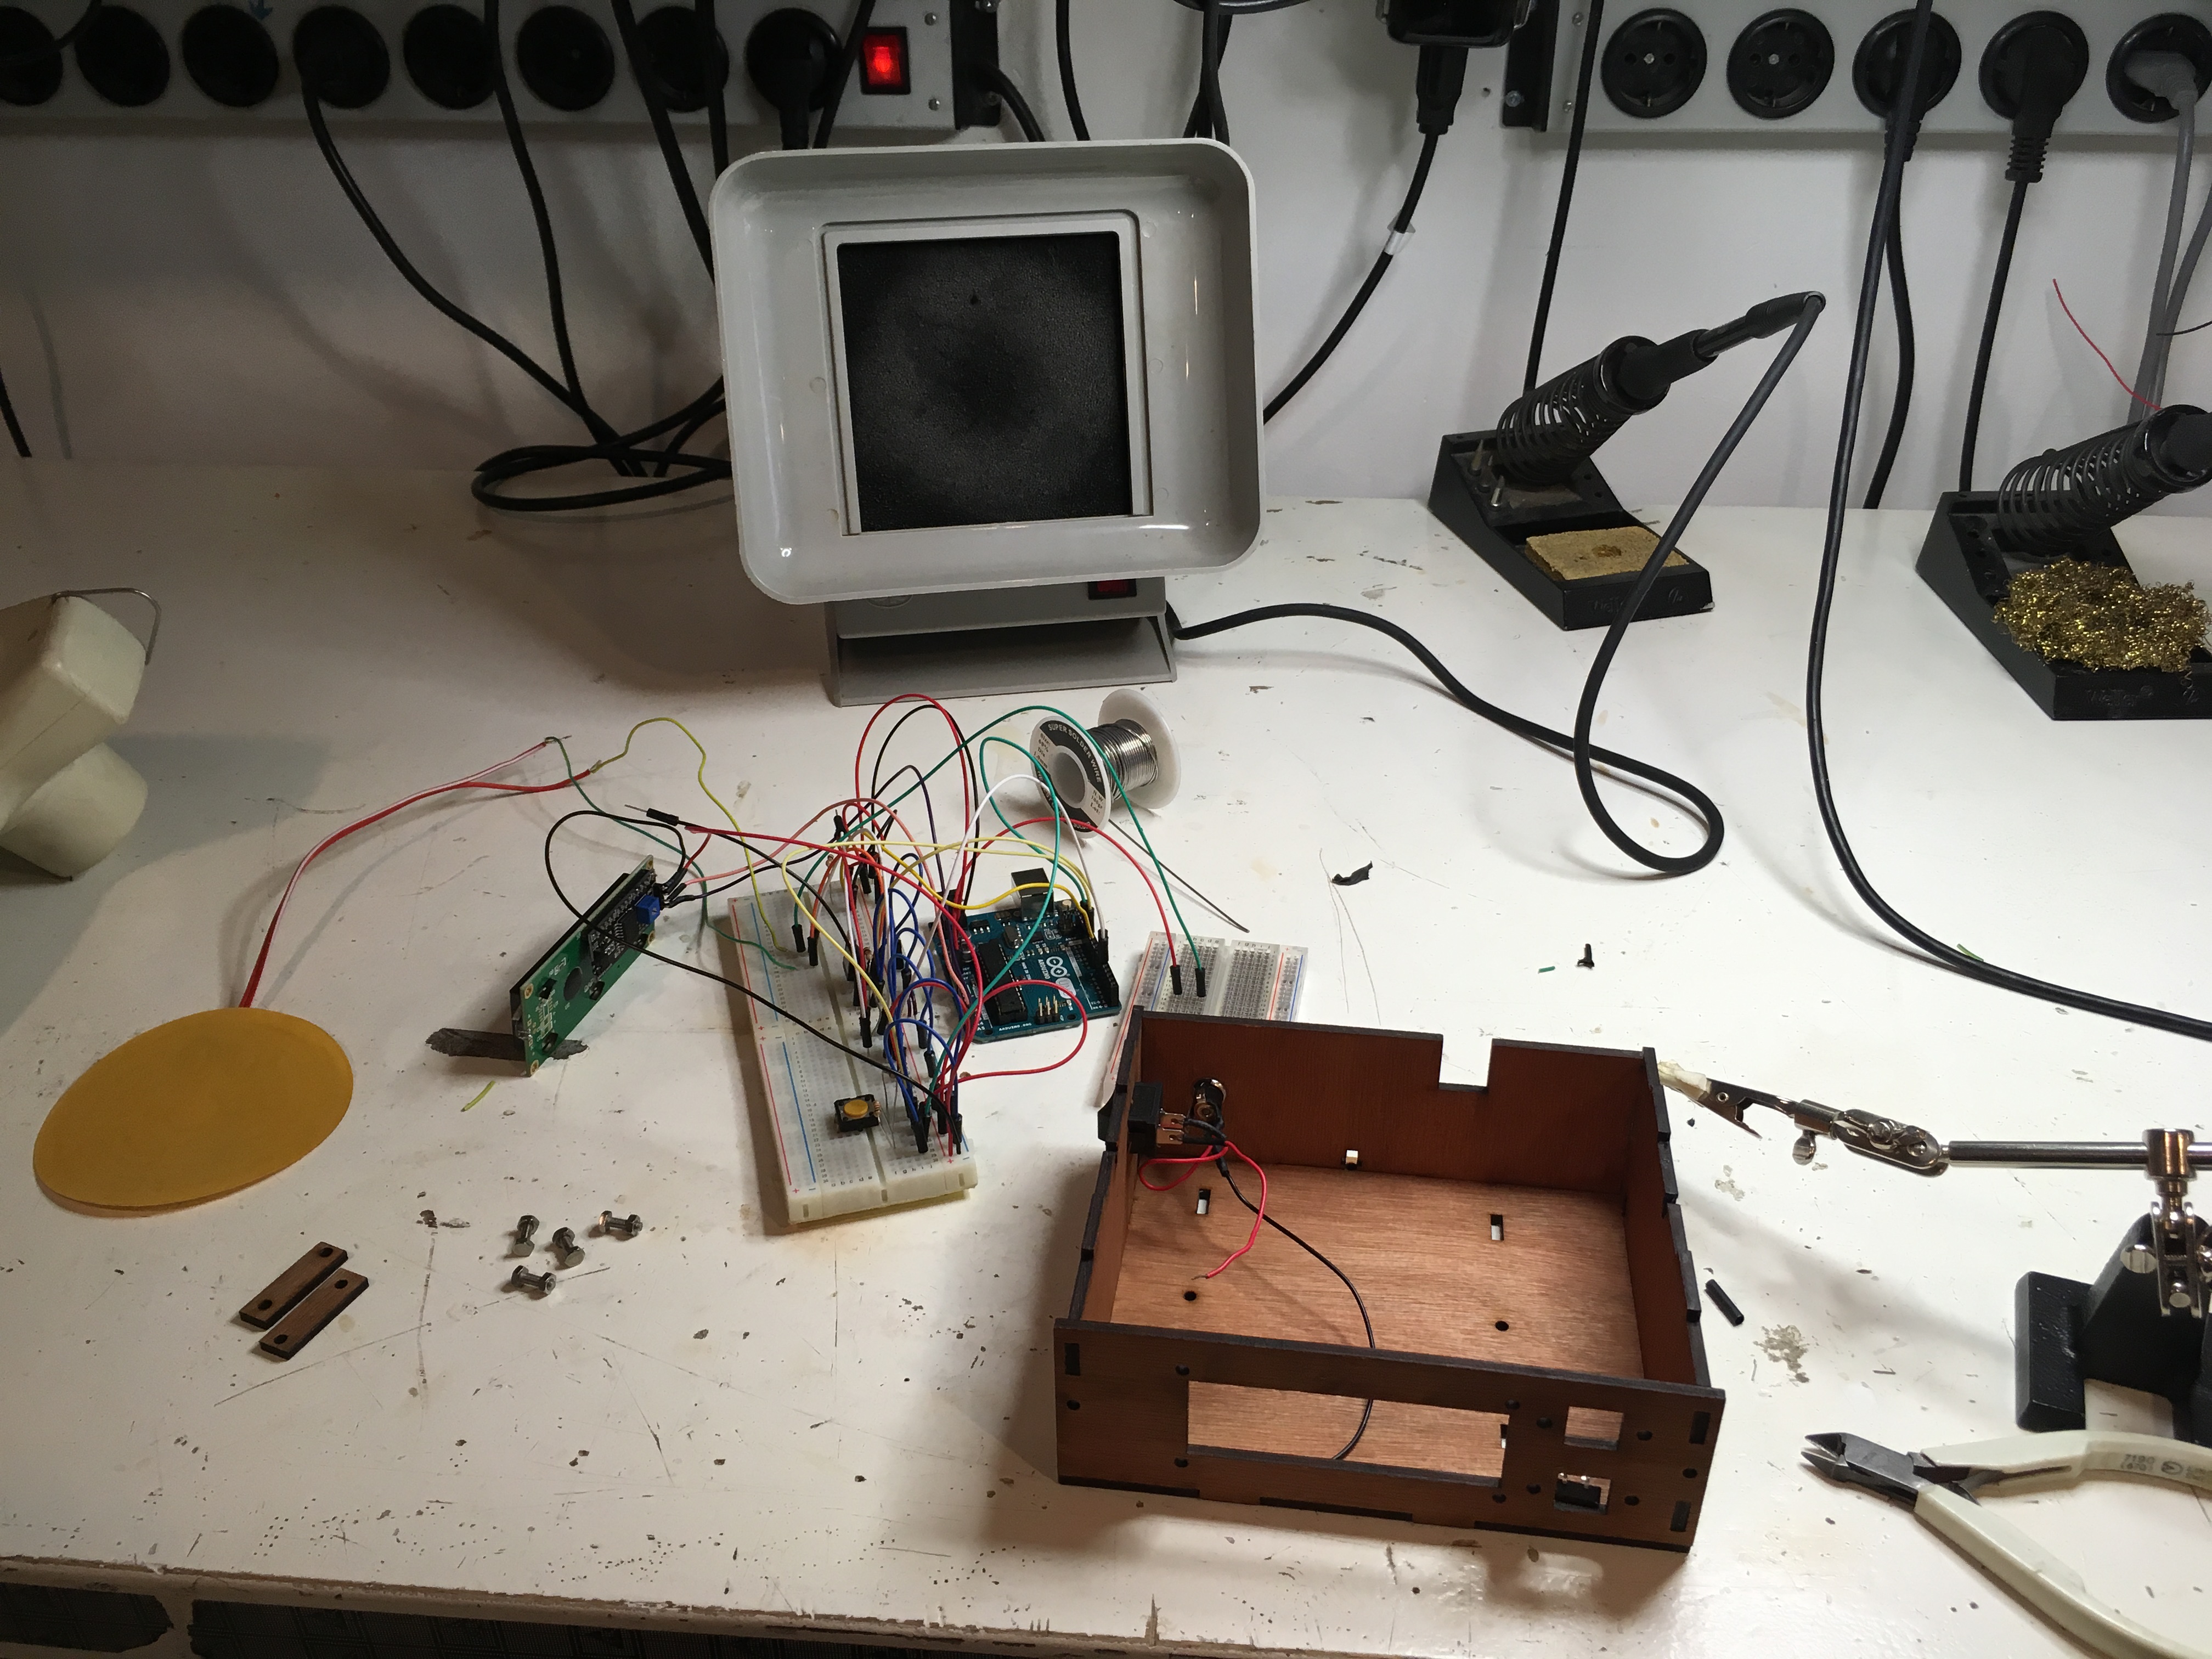
I had hoped by the end of this week that my incubator would be finished, but the next step of soldering the components onto a prototype board is really holding me back! I was recommended a comic about soldering, which made me feel less worried about how to do it properly.
One worry is that I dont know where to start with transferring the components from a connected bread board over onto the the prototype board and havign to make the right connections. I did go online to read and watch videos but i found it difficult to understand without having a person to discuss it with. I began by soldering in the connections to the bits that i knew where they were going, like the LCD screen and buttons but still wasn’t ready to take the jump into transferring from the bread board to a smaller board. After loosing 2 days on trying to ‘get on with it’ I decided to wait until monday, when we have an electronics hour, to ask for some support in starting.
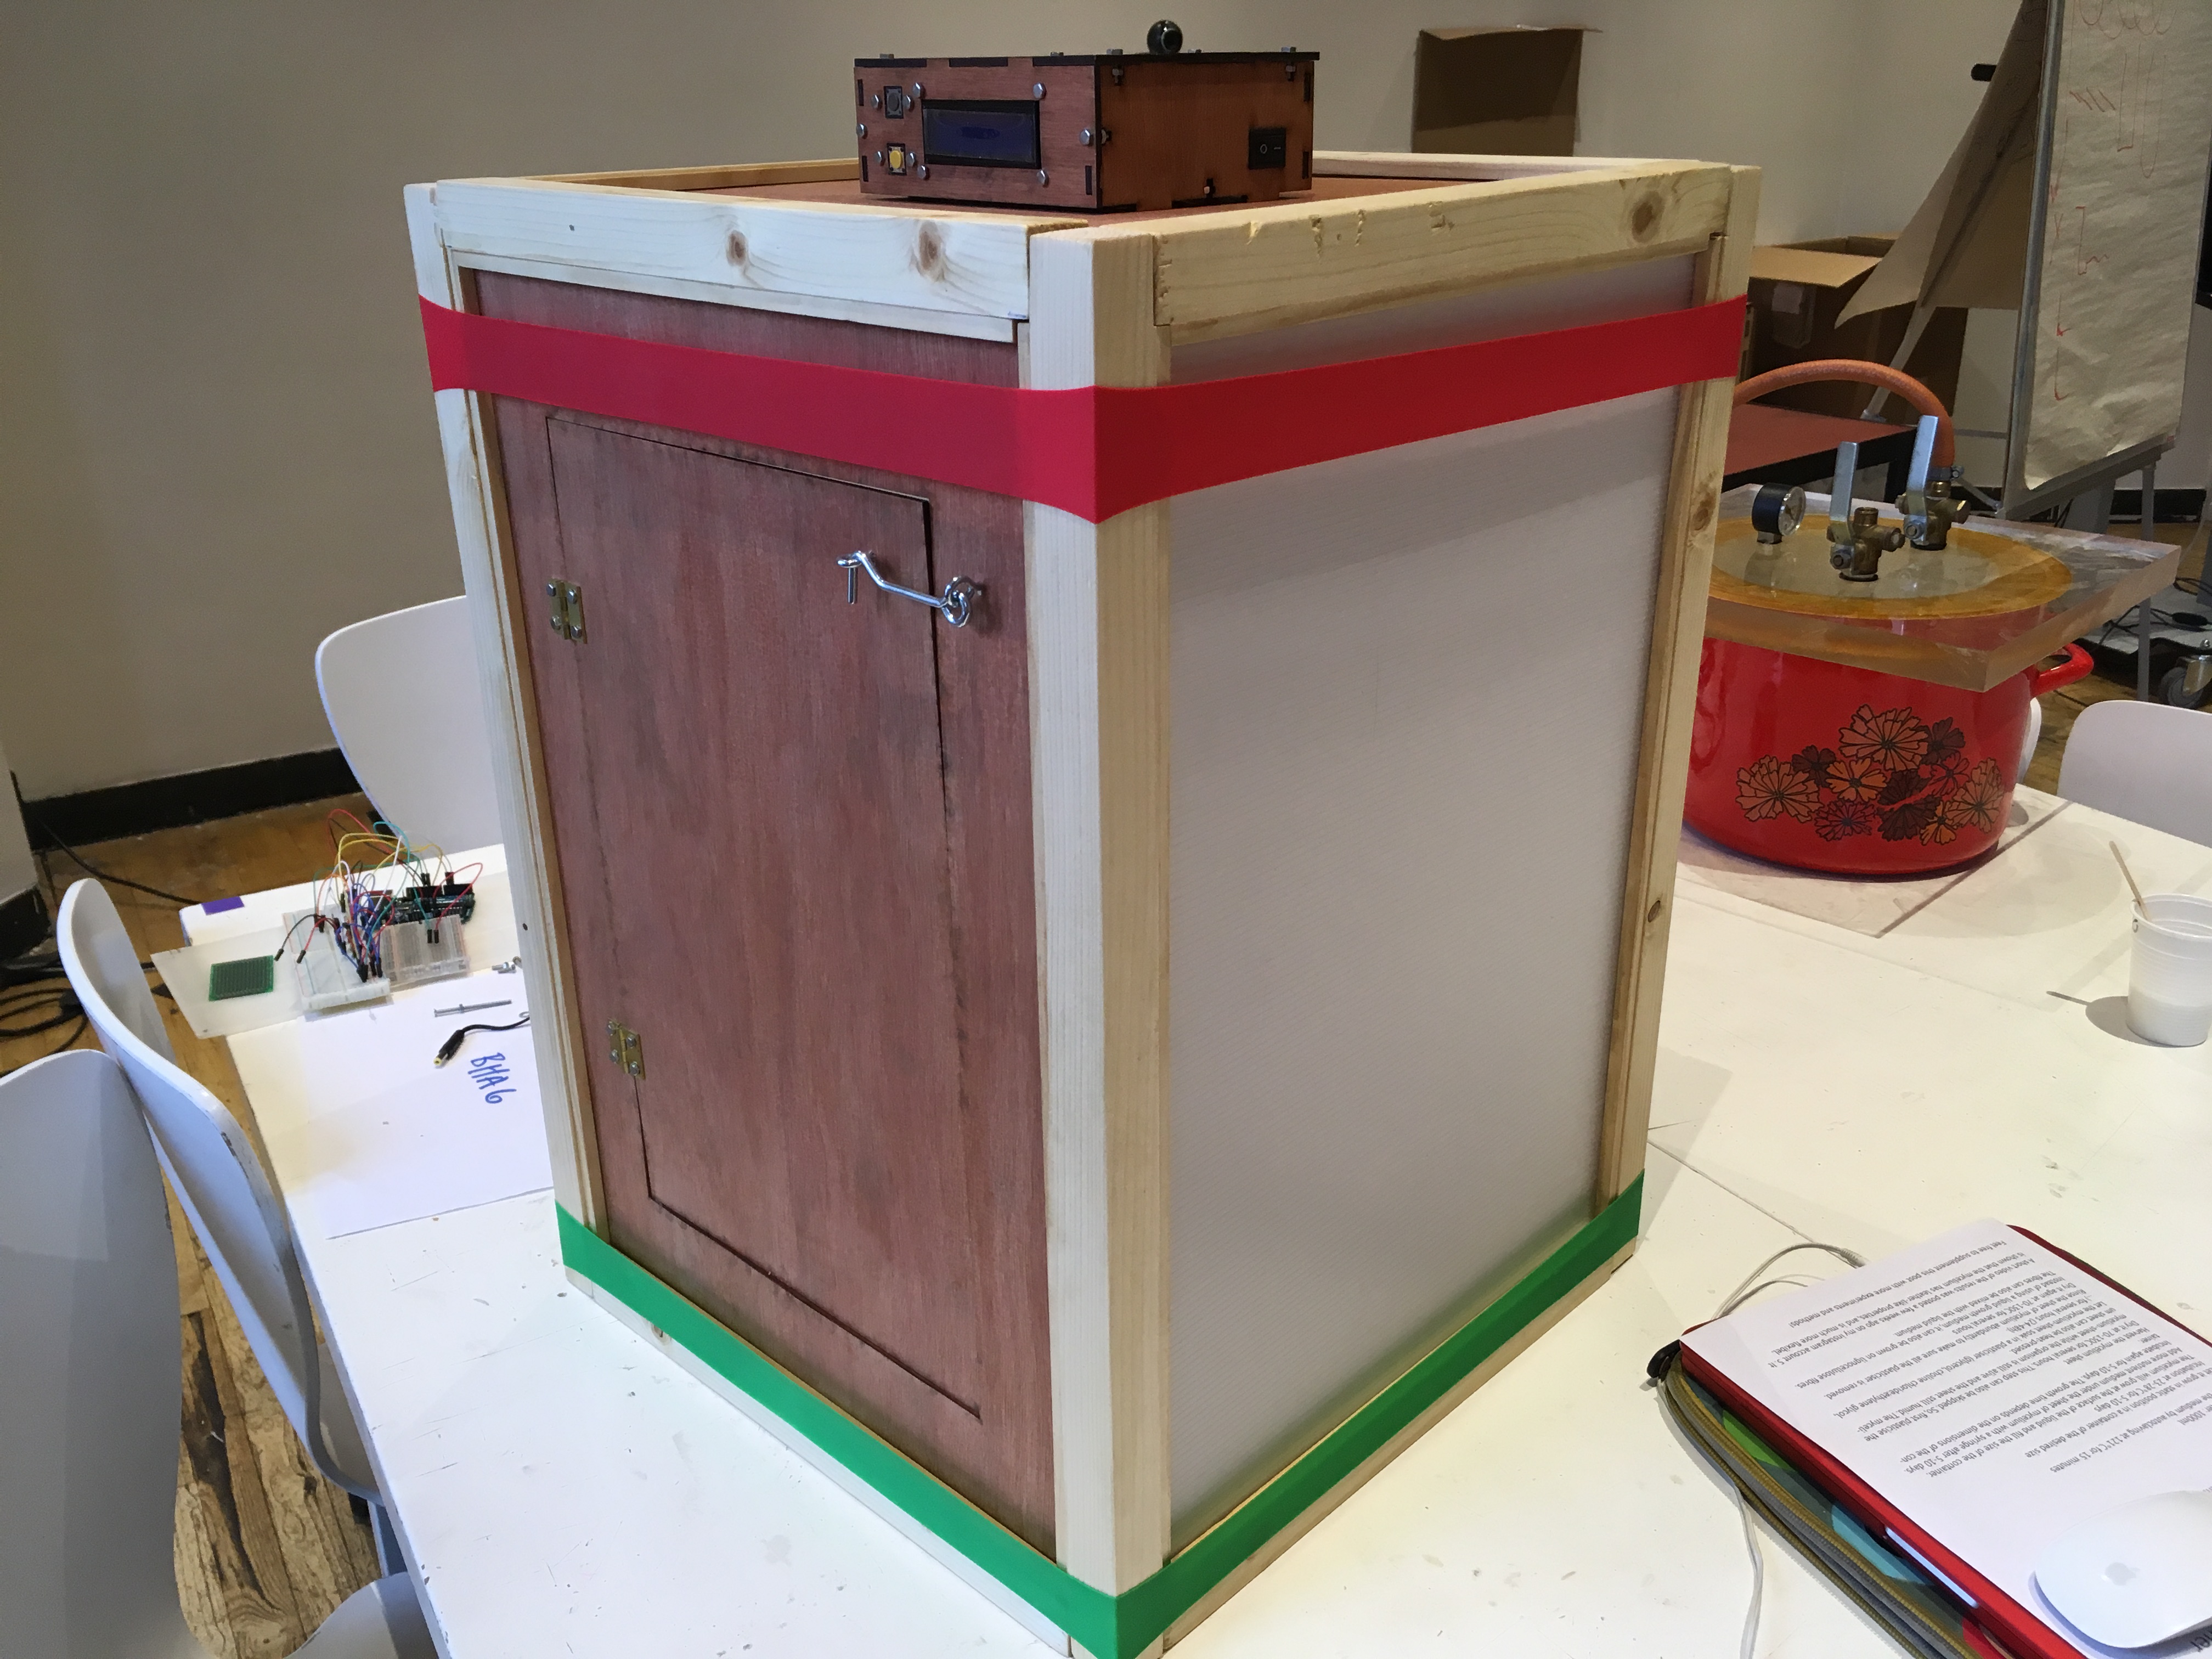
The actual incubator has taken a bit longer too - i kept on wanting make it ‘look nice and functional’ but finally realised that this is version 1 and my main object is to get working as a unit with the electronics and plants. I will have the opportunity at a later date to make it look nice.
I decided to use the polycarbonate plastic sheeting throughout because it adds better structure, the 3ml ply i was using kept bending a bit and made it tough to slide the sides together. I would like to put a shelf in it, to utilise the space, but aware that by putting a solid shelf in there might effect the airflow in the incubator. I have decided to find a dish rack or plate rack to use in it.
Because I had to make the t-joints myself and I had a few mis measurements the incubator is a bit delicate. I bought some resistance elastic used for sport and stretching to help hold the structure together - I’m quite pleased with this idea, it works well and adds a bit of a personality to the incubator.


